So with that aside, I went out to try and source for materials to change the entire skin on the amp and maybe do a little make over for it. Here?s how to do it if you are thinking of doing a custom job on your amp. It?s not too difficult. You just need some patience & Experiment this at your own risk!
Here are some of the tools and materials you will need.
- Screw drivers ( + and - )
- Pen knife ( Preferably a brand new blade, You will need the added sharpness)
- 250ml Industrial glue ( You may need to produce your identity card at certain hardware shops to purchase )
- Sandpaper ( Rough & Fine )
- Scisors
- Spray Paint/Paint ( color of your choice )
- A small paint brush
- Body moisturizer
- Hydroflux Vinyl
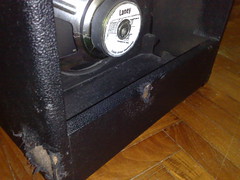
Here's the victim before the job

Firstly, you will need to fully dismantle your amp and leave just the housing on its own. If you are not sure of how to do this, I would not recommend it as it may ruin a completely good amp if you are not careful. Seek for professional help on this one.
Next, Remove the amp tolex (amp skin) from it?s housing. This can be tricky and may need a lot of strength to do. Try not tear the tolex into a million pieces as you will need it for a trace later. Try to remember the directions of how the original tolex was in place as it will be the way you put on your new skin. Once you have wrestled out the tolex to its pulp, use sandpaper to smooth out the amp. The rougher grained sandpaper first then followed by a smoother grained sandpaper to finish off. This may require a fair amount of time as some glue stains may be very stubborn.
Once you accomplished the removing of the old tolex, You may want to give the insides of the housing a color change by painting or spraying on your choice of color.
If you have managed to tear out your old tolex in one piece, Good for you! Use this to trace out the rough shape on the new skin by marking it with a pen. Carefully cut the traced portions out and now you are ready for the new implant.
Now here comes the important part. Your new skin! Before putting on the new skin, use a dry cloth to wipe off any unwanted dust or dirt. Next, place the skin on top the housing to make sure you have the sizes right. Cutt the places that needs folding. It?s ok to have some access but not too little.
Once you have got a rough measurement of the skin, Use your paint brush and apply an even coat of glue on your first contact point. Stick the skin on the first point and let it set for a while. After which, follow up with an even coat of glue. Small portion by small portion. DO NOT do it all at one go as this way gives you NO room for error. Press firmly to avoid having air pockets and measure after each step to make sure that the alignments have not gone off too much and that you are on track. If you find yourself slightly short, You can stretch the material a little to make minor adjustments. If it's totally wrong, you can still tear out the skin and re apply again if the glue has not fully bonded. Patience is key?.
Once you have completely finished with the application of the new skin, Use your pen knife or scissors to cut off unwanted skin from the housing. The edges can be tricky so pay attention to what you cut.You may need to have some precision cutting to fit the pieces together hence it is important to know which piece goes where. Hence you will need a very sharp pen knife.
After completing the entire amp with the new skin, Start putting the parts of the amp back to its original positions like when you took them out and You are DONE!! Finish up by cleaning up your amp with some body moisturizer on the skin of the amp for that smooth silky new amp feel.
I took approximately 5-6 hours to complete this. Good luck to those who are going to give this a try. I hope this information will be somewhat helpful to you.
The Final Product!
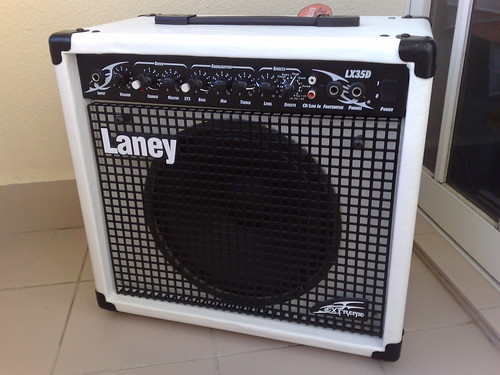
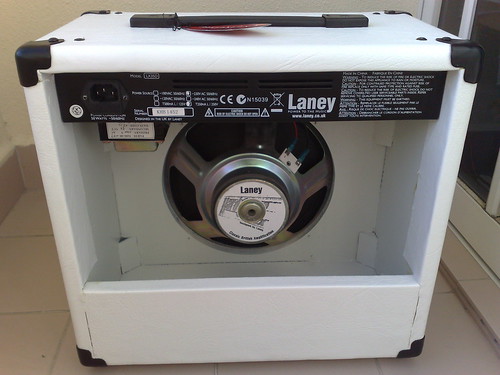
Well worth the time & effort!


